Digital planners have become one of the most popular digital products for creators, freelancers, students, and entrepreneurs. They’re easy to create, require no inventory, and can generate passive income for years after they’re published.
If you’ve been thinking about creating your own digital product, a digital planner is one of the best places to start. In this guide, we’ll walk you through why digital planners are worth creating, how to design one using Canva, and where you can sell it online.
Why Sell Digital Planners?
Digital planners are attractive because they offer several advantages over physical products:
1. Low Startup Cost
You don’t need to invest in inventory, packaging, or shipping. All you need is a design tool like Canva and your creativity.
2. Passive Income Potential
Once your planner is created and uploaded, customers can purchase it repeatedly without requiring additional production.
3. Growing Digital Product Market
More people are using tablets, smartphones, and note-taking apps like GoodNotes and Notability, increasing the demand for digital planning tools.
4. Unlimited Customization Opportunities
You can create planners for students, professionals, content creators, teachers, fitness enthusiasts, budget-conscious individuals, and many other niches.
5. Easy to Update and Improve
Unlike printed products, digital planners can be edited and updated whenever you want.
How In-Demand Are Digital Planners?
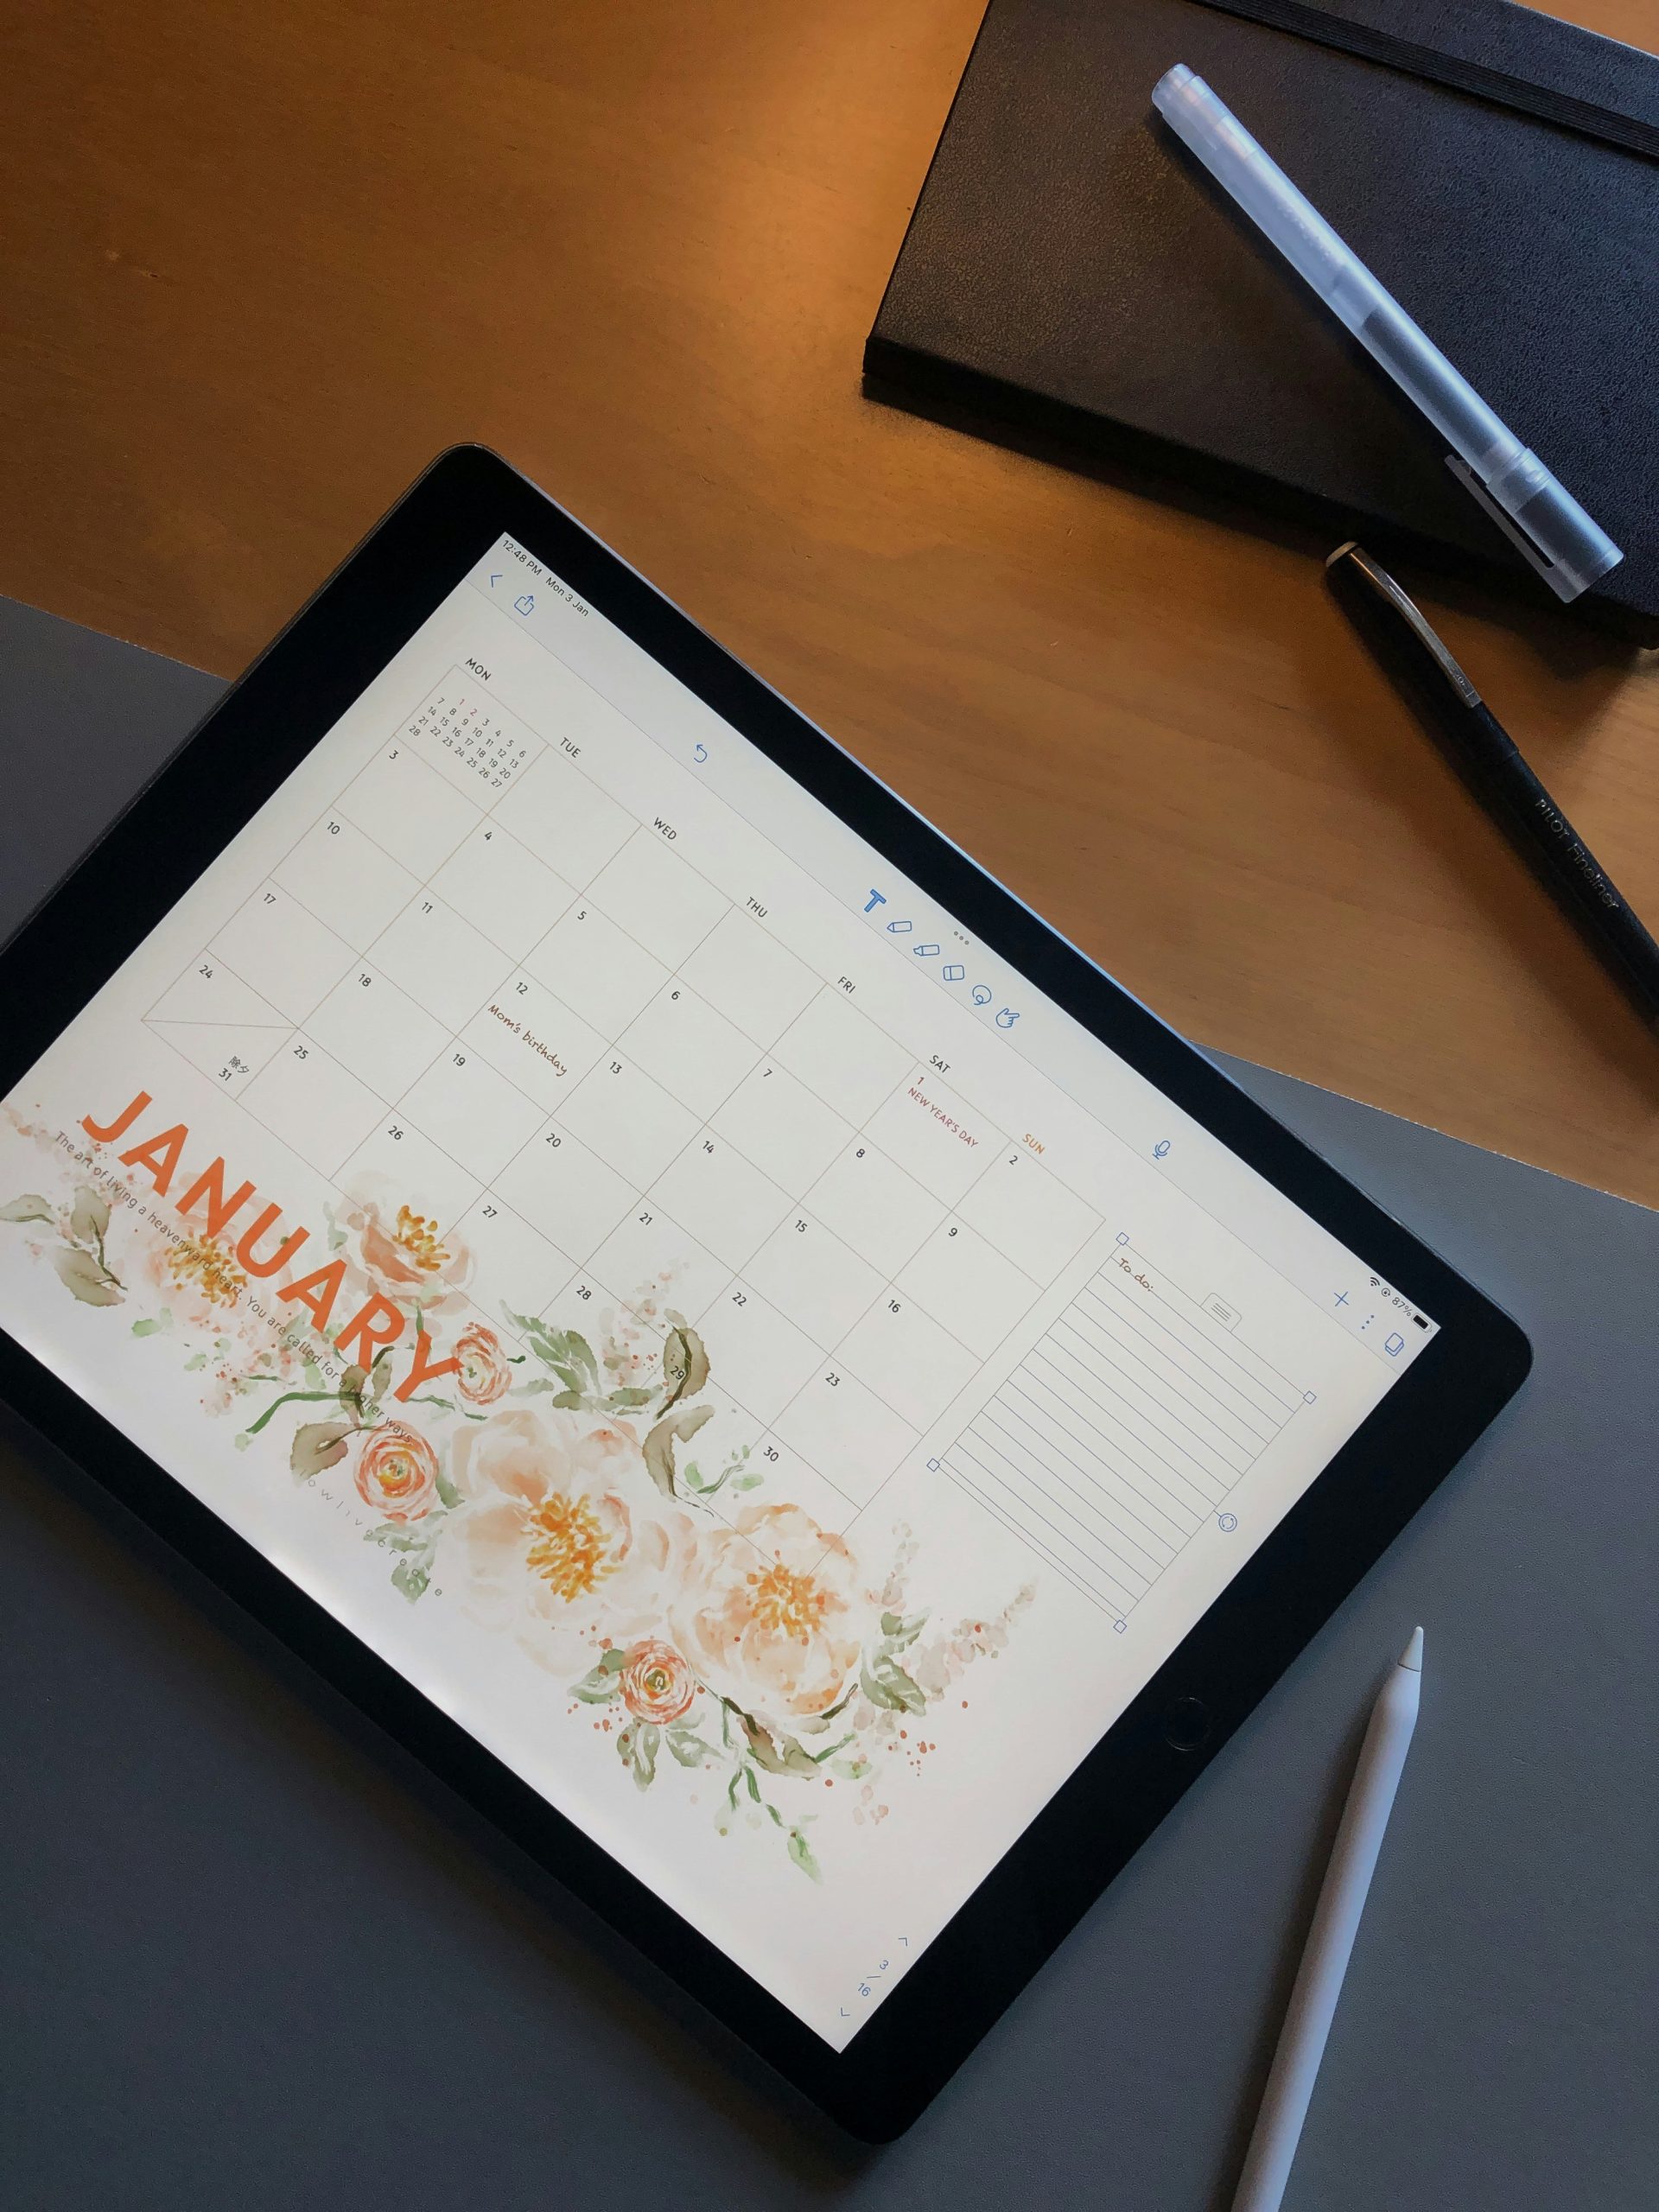
Digital planning has exploded in popularity over the past few years. Many people now prefer organizing their schedules, goals, finances, and daily tasks digitally rather than carrying paper planners.
Popular planner categories include:
- Daily and weekly planners
- Student planners
- Budget planners
- Fitness and wellness planners
- Social media content planners
- Business planners
- Goal-setting journals
- Travel planners
- Wedding planners
The rise of iPads and digital note-taking apps has made digital planners a practical solution for people looking to stay organized while reducing paper clutter.
Because planners solve an ongoing problem—staying organized—they remain one of the most evergreen digital products you can sell online.
Step-by-Step: Creating a Digital Planner in Canva
Step 1: Decide on Your Planner’s Purpose
Before opening Canva, determine your planner’s target audience.
Ask yourself:
- Who is this planner for?
- What problem does it solve?
- What pages should it include?
For example:
- Students need assignment trackers and study schedules.
- Entrepreneurs may need project planners and goal trackers.
- Budget-conscious users may need expense trackers and savings challenges.
Having a clear niche makes your planner more valuable and easier to market.
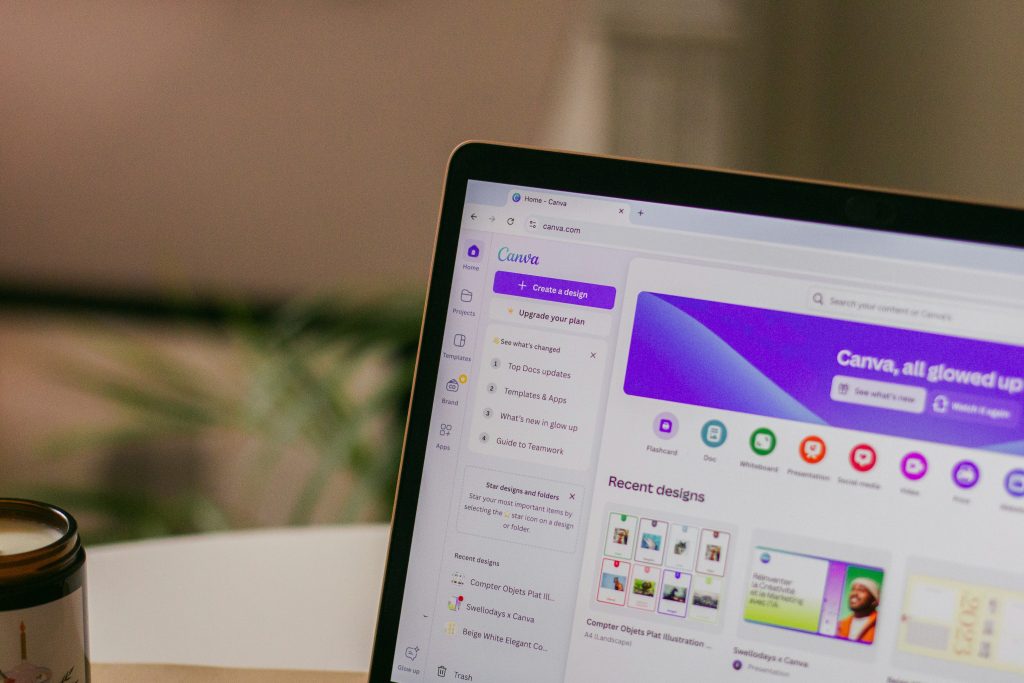
Step 2: Create a New Canva Design
- Open Canva.
- Click “Create a Design.”
- Choose A4, US Letter, or custom dimensions.
- Select portrait orientation for traditional planners.
Many creators use A4 dimensions because they work well for both printable and digital formats.
Step 3: Design Your Cover Page
Your cover should immediately communicate the planner’s purpose.
Include:
- Planner title
- Year or date range
- Simple, professional design
- Brand name or logo
Examples:
- 2026 Digital Life Planner
- Ultimate Student Planner
- Social Media Content Planner
Step 4: Create Navigation Pages
For digital planners, navigation is extremely important.
Consider creating:
- Dashboard page
- Monthly tabs
- Weekly tabs
- Goal-setting section
- Notes section
Use Canva’s page duplication feature to maintain consistent layouts throughout the planner.
Step 5: Design Your Planning Pages
Create templates for:
Monthly Planning
Include:
- Calendar overview
- Monthly goals
- Important reminders
- Habit tracker
Weekly Planning
Include:
- Weekly priorities
- To-do lists
- Appointments
- Notes section
Daily Planning
Include:
- Schedule
- Tasks
- Top priorities
- Gratitude section
- Daily reflections
Step 6: Add Hyperlinks (Optional)
If your planner is intended for apps like GoodNotes or Notability, add clickable navigation links.
To do this in Canva:
- Select an element or text.
- Click the Link button.
- Link it to the appropriate planner page.
- Repeat for tabs and navigation buttons.
This creates a smoother user experience and makes the planner feel more professional.
Step 7: Export Your Planner
Once finished:
- Click Share.
- Select Download.
- Choose PDF Standard or PDF Print.
- Download your file.
PDF format works best for most digital planning apps.
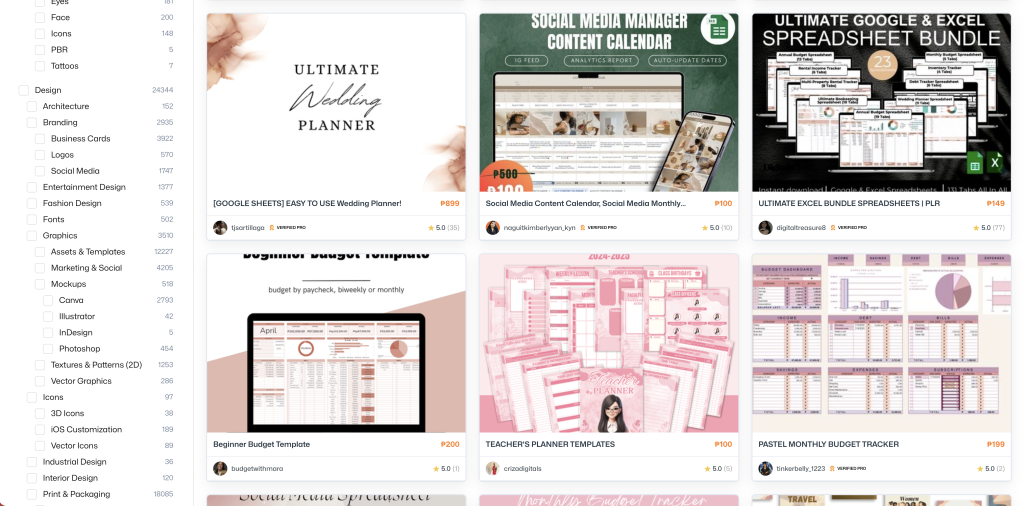
Content Ideas to Include Inside Your Digital Planner
Need inspiration? Here are popular planner pages customers love.
Productivity Pages
- Daily planner
- Weekly planner
- Monthly calendar
- Task tracker
- Goal planner
- Project planner
Finance Pages
- Budget tracker
- Savings tracker
- Debt payoff tracker
- Expense tracker
- Subscription tracker
Wellness Pages
- Habit tracker
- Mood tracker
- Water intake tracker
- Fitness planner
- Meal planner
Student Pages
- Class schedule
- Assignment tracker
- Study planner
- Exam preparation tracker
Content Creator Pages
- Content calendar
- Social media planner
- Campaign tracker
- Brand partnership tracker
- Income tracker
Business Pages
- Client tracker
- Sales tracker
- Marketing planner
- Business goals dashboard
The more specific your planner is to a target audience, the more likely it is to stand out.
Where to Sell Your Digital Planner
Once your planner is complete, it’s time to start earning from it.
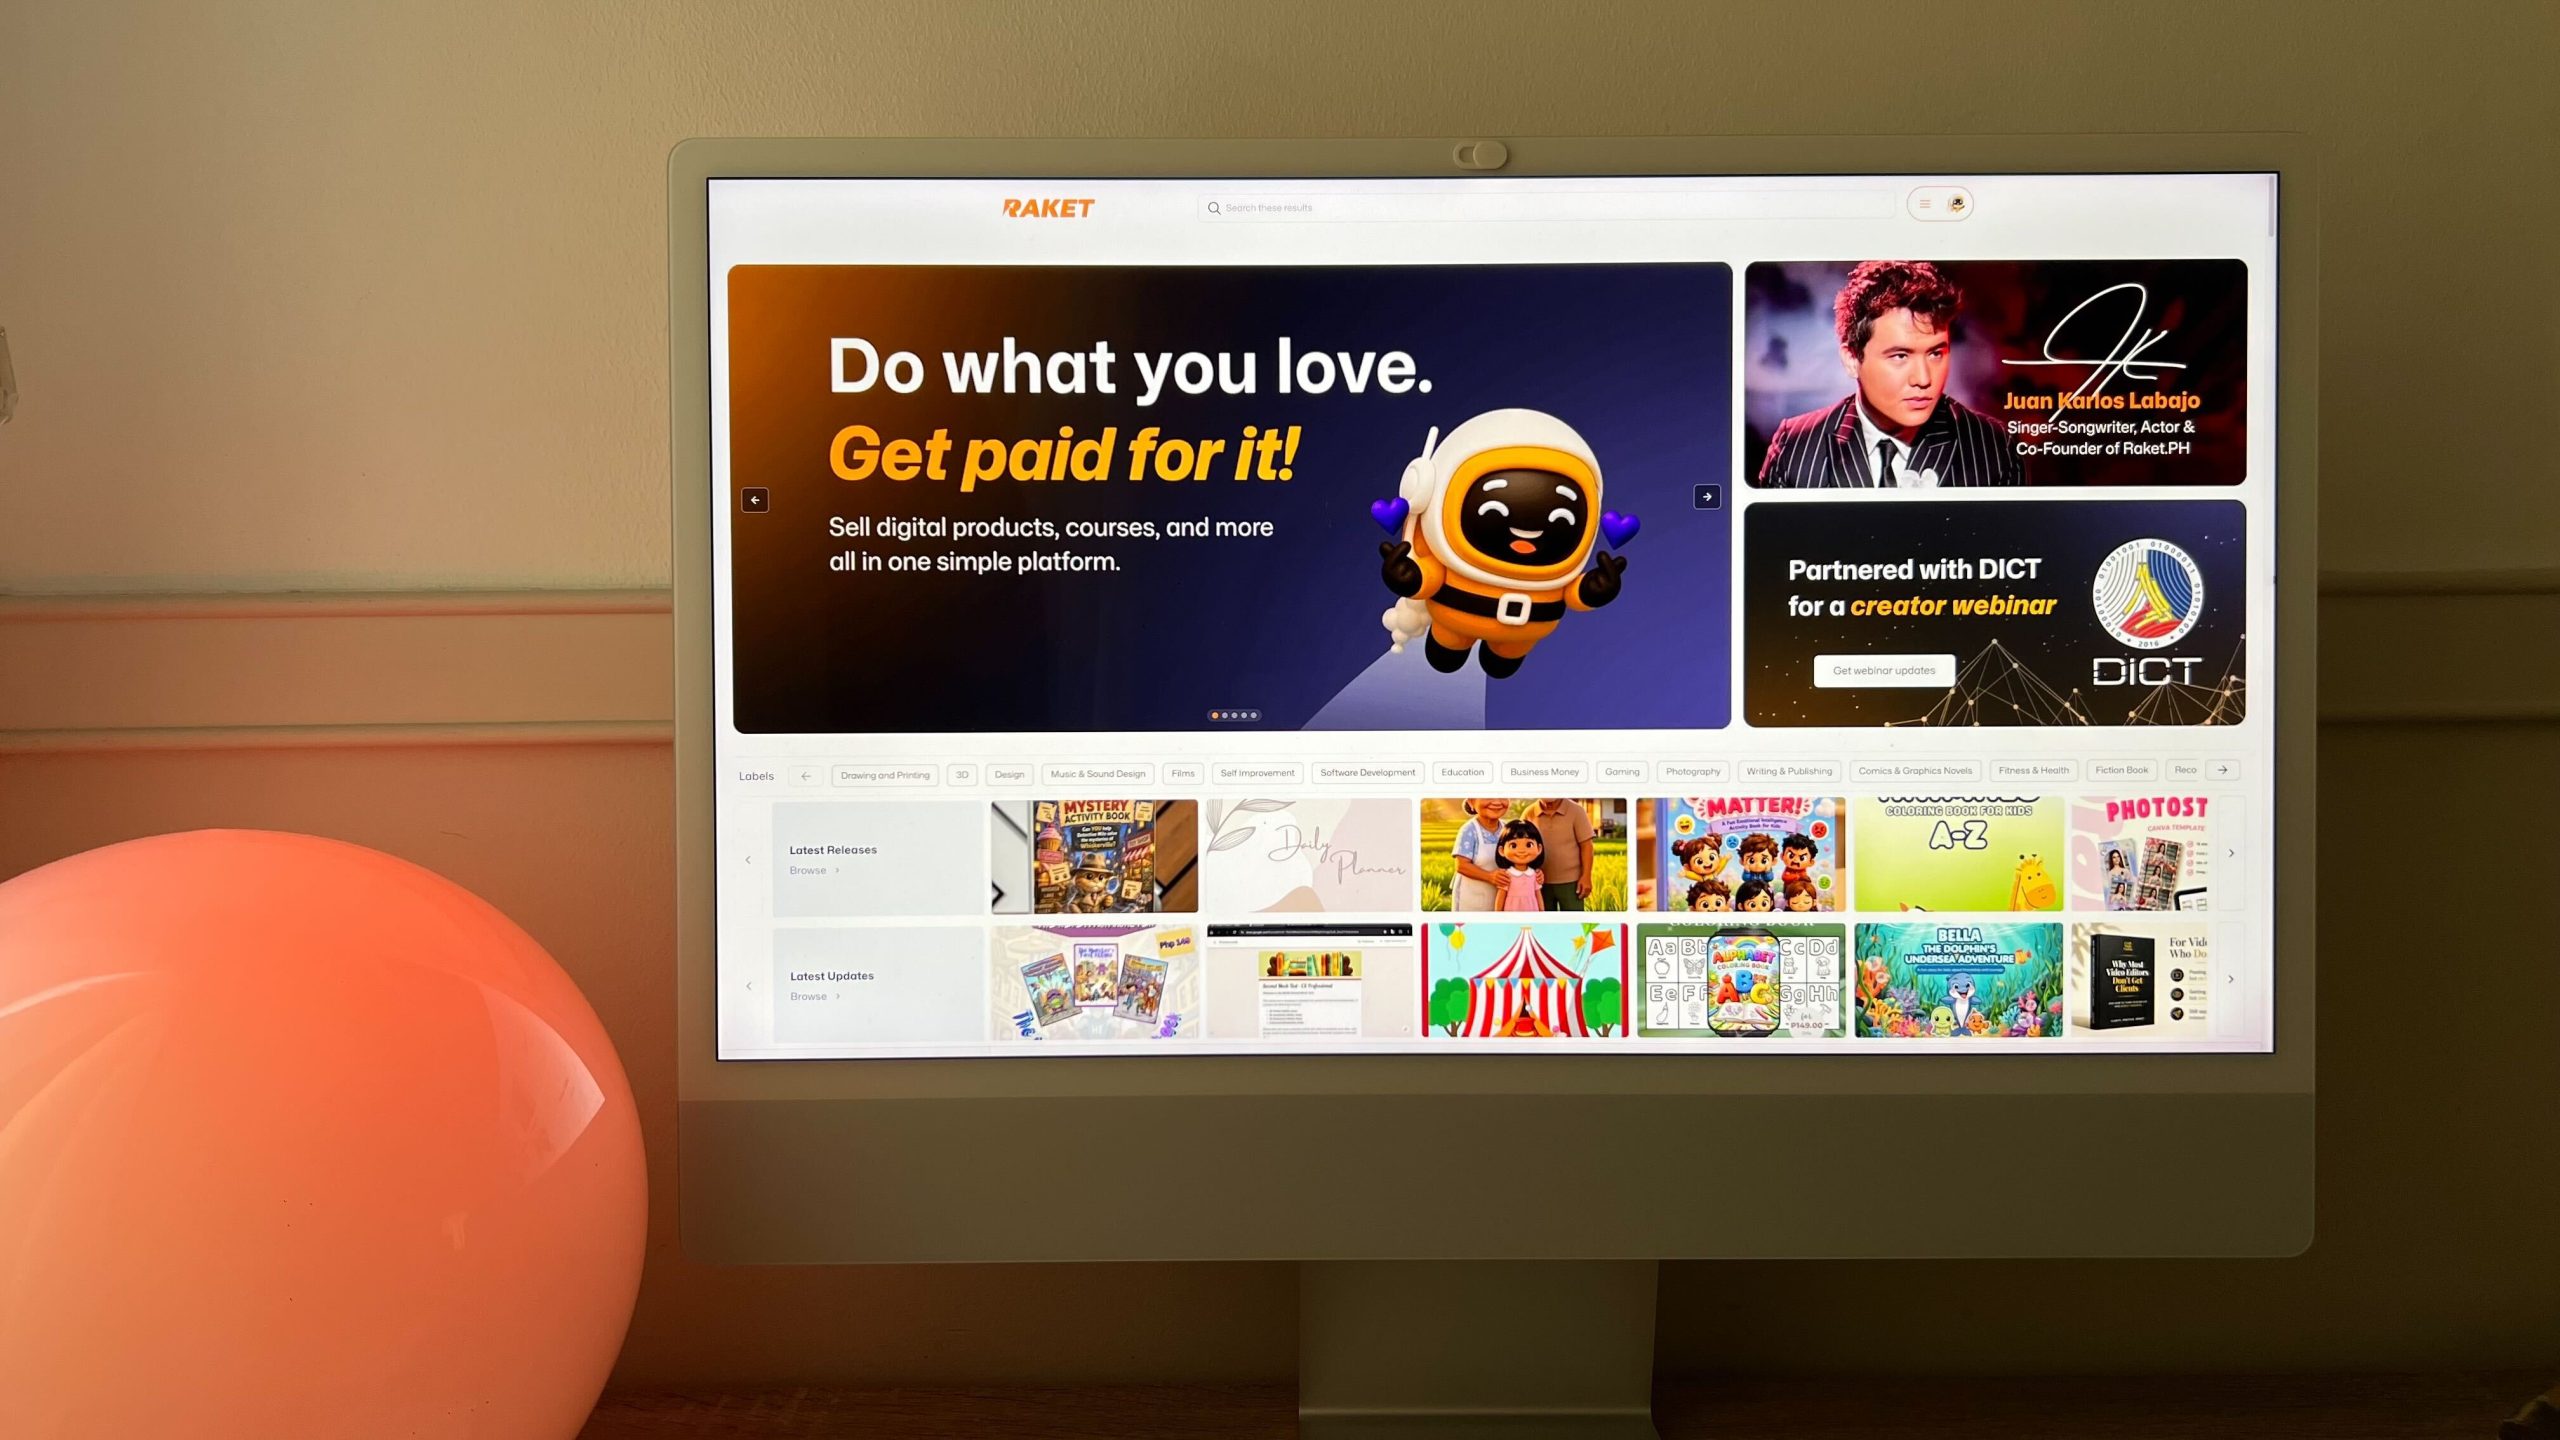
Sell on Raket
Raket.PH is one of the easiest ways for Filipino creators to start selling digital products online.
Why choose Raket?
- No need to build your own website
- Easy product uploads
- Secure payments
- Creator-friendly platform
- Built-in audience of digital product buyers
Simply create your account, upload your planner, add product images and descriptions, and start promoting your listing.
Learn more: https://blog.raket.ph/how-raket-simplifies-selling-for-first-time-creators-or-sellers/
Promote on Social Media
Share your planner on:
- TikTok
Create videos showing how the planner works and demonstrate its features to potential buyers.
Build Your Personal Brand
People often buy from creators they trust. Consider creating content around:
- Productivity
- Organization tips
- Budgeting
- Student life
- Entrepreneurship
This helps attract your ideal customers and increases planner sales over time.
Creating a digital planner is one of the easiest ways to start selling digital products online. With tools like Canva, anyone can design a professional planner without advanced graphic design skills.
Start by choosing a niche, designing useful pages, and publishing your planner on Raket. As you gain experience, you can expand your product line with journals, trackers, templates, and other digital downloads.
The best time to start was yesterday. The second-best time is today. Open Canva, create your first planner, and turn your creativity into a digital product that can generate income for years to come.


Leave a Reply